Getting Your UV Setup Right (Without the Headaches)
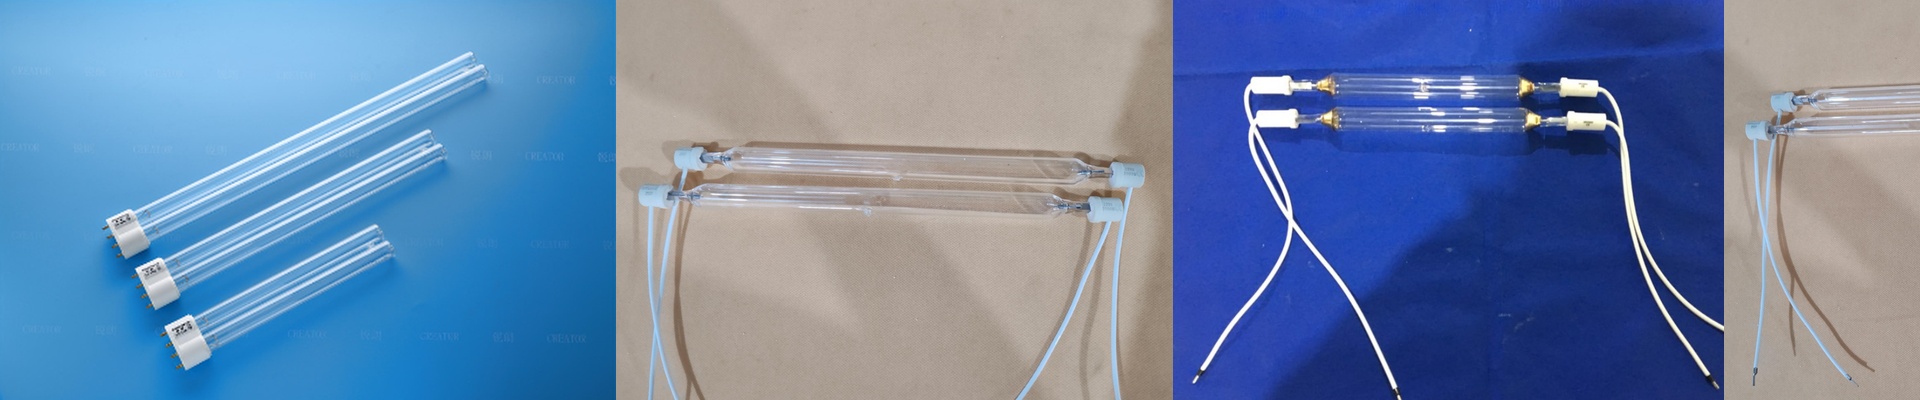
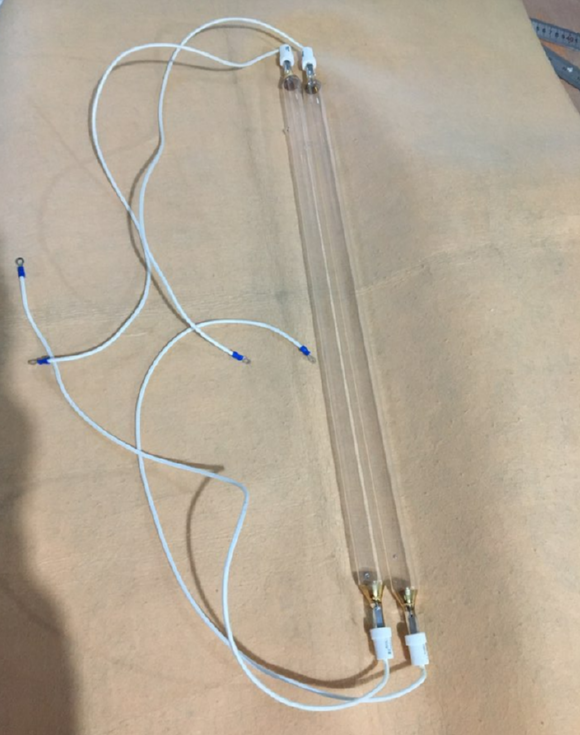
Most people treat UV lamps like lightbulbs—you just swap them out when they pop and call it a day. But if you’re running a textile line or a high-speed offset press, that’s a mistake. The difference between a lamp that “works” and a setup that’s actually dialed in is where your profit lives. It’s the difference between a smooth run and a morning spent staring at a pile of wasted material. It’s all about the chemistry. UV curing isn’t just about blasting light at ink. You have to match the lamp’s output to the photoinitiators in your ink. It’s a balancing act between UVC and UVB. Too little power? Your surfaces stay tacky, and the ink just won’t stick. But if you crank the wattage without speeding up your line, you’ll start scorching your materials or seeing the ink shrink. Not a great look. Then there’s the heat. High-output lamps get hot. Really hot. When we help a client spec out a system, we don’t just talk about speed. We talk about cooling. If your reflectors are pitted or your airflow is clogged, that lamp is going to burn out way faster than it should. You’ve got to watch that thermal load. If you’re printing on thin plastics, for example, they can warp in a heartbeat. To stop that, you either have to tweak the lamp distance or bring in chilled rollers to keep things cool. The boring (but important) stuff. Our lamps are designed to be drop-in replacements. You won’t have to rip out your ballast or rewire the whole shop just to get them running. But here is the catch: you can’t just wait for the lamp to go dark. UV output starts dropping long before the bulb actually dies. If you aren’t tracking your hours, you’re guessing. We suggest checking the milliwatts at the substrate level every week. Once that number dips, swap the tube. It’s a lot cheaper than discovering a whole batch of uncured product at the end of the line.