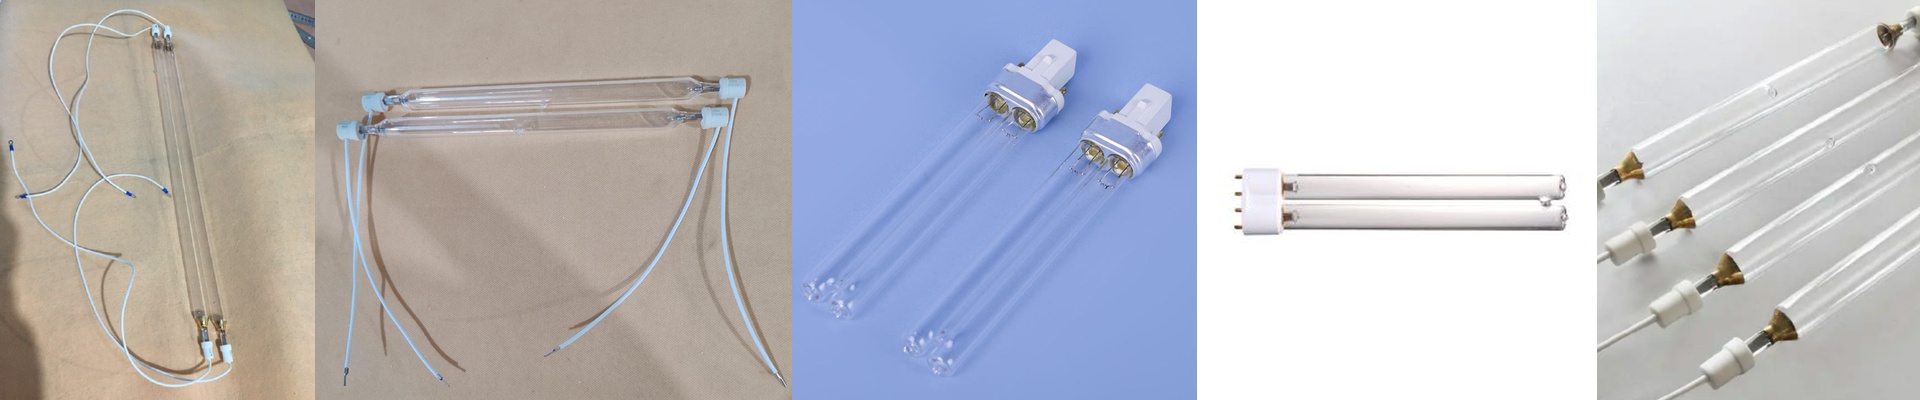
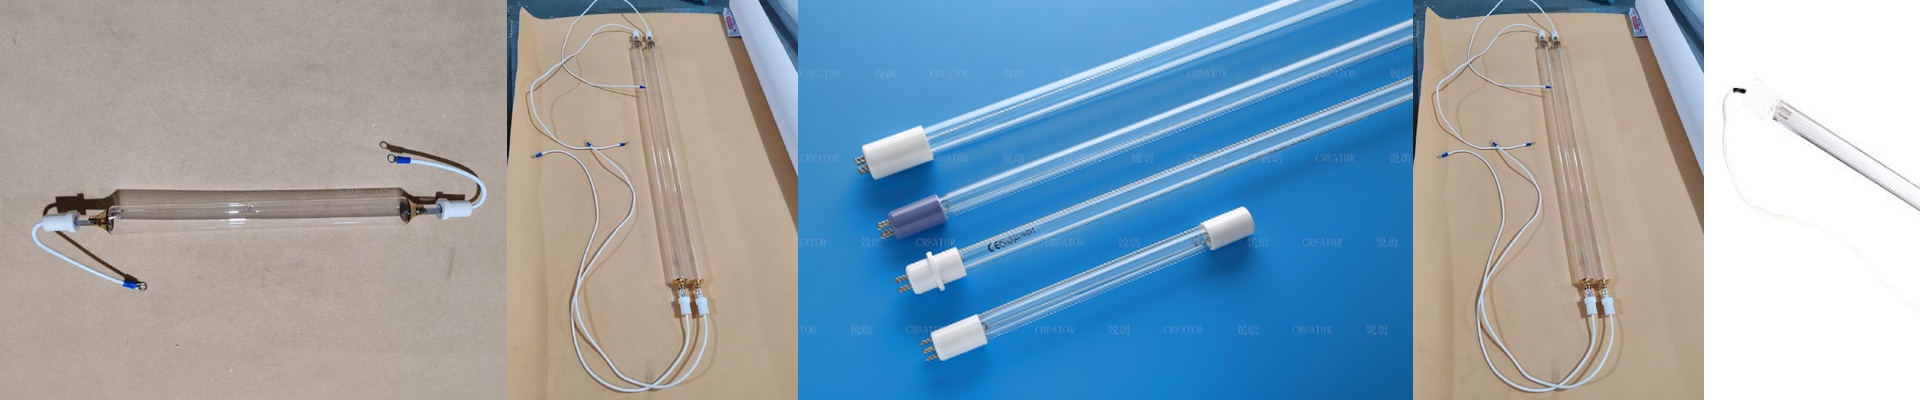
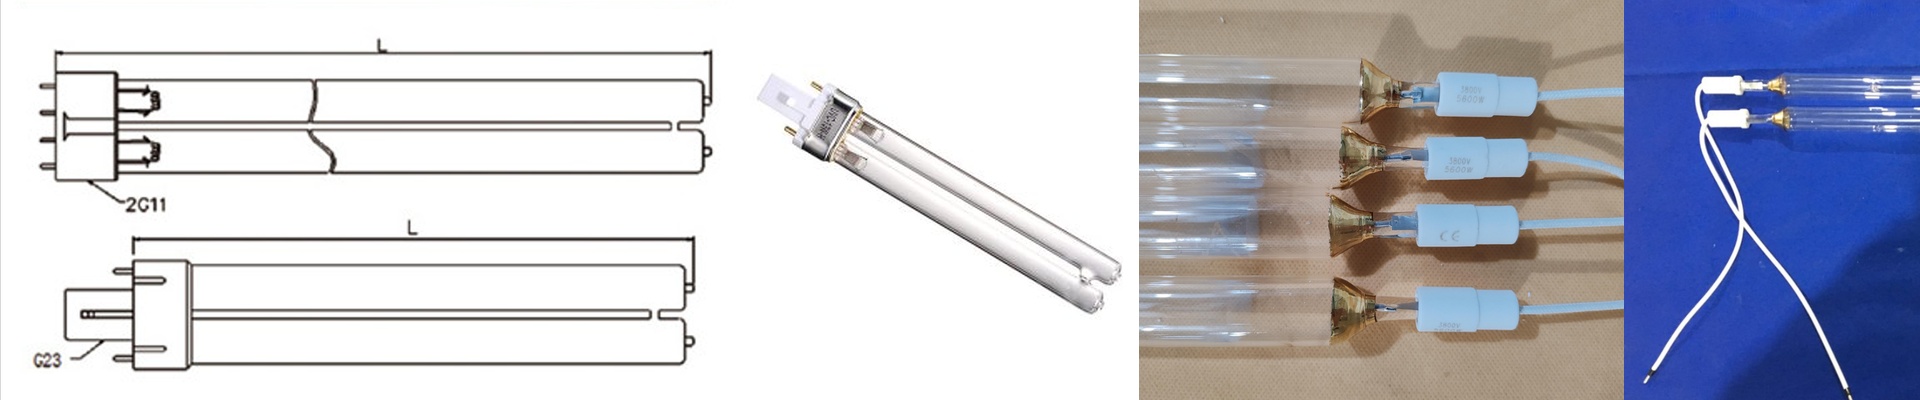
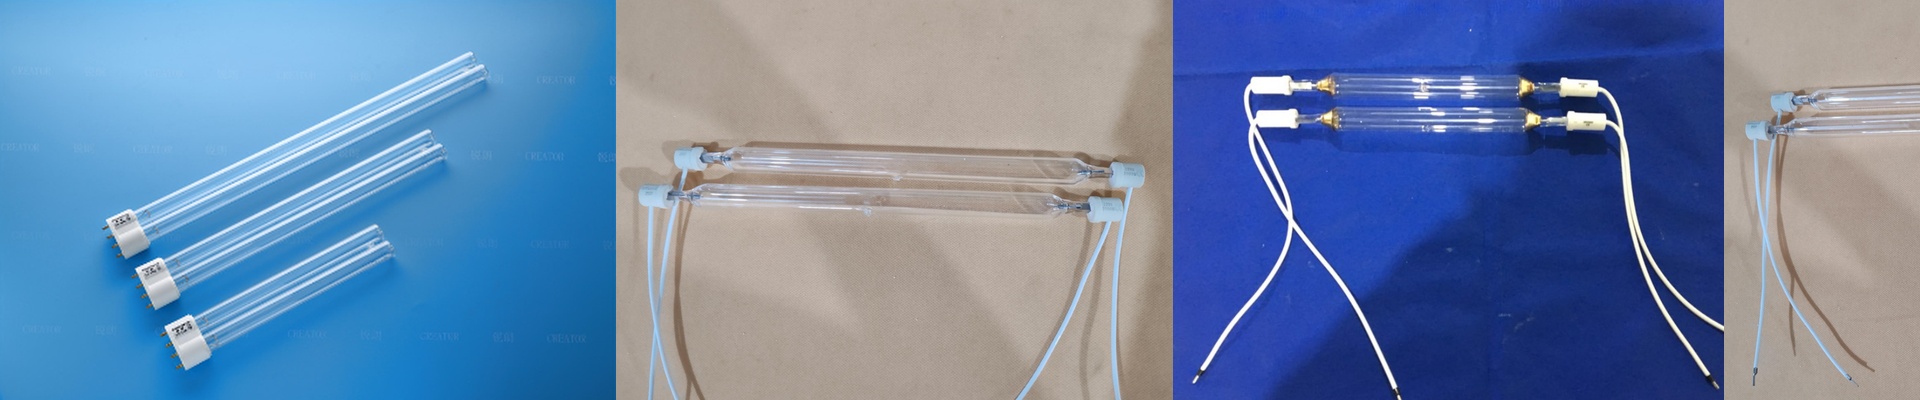
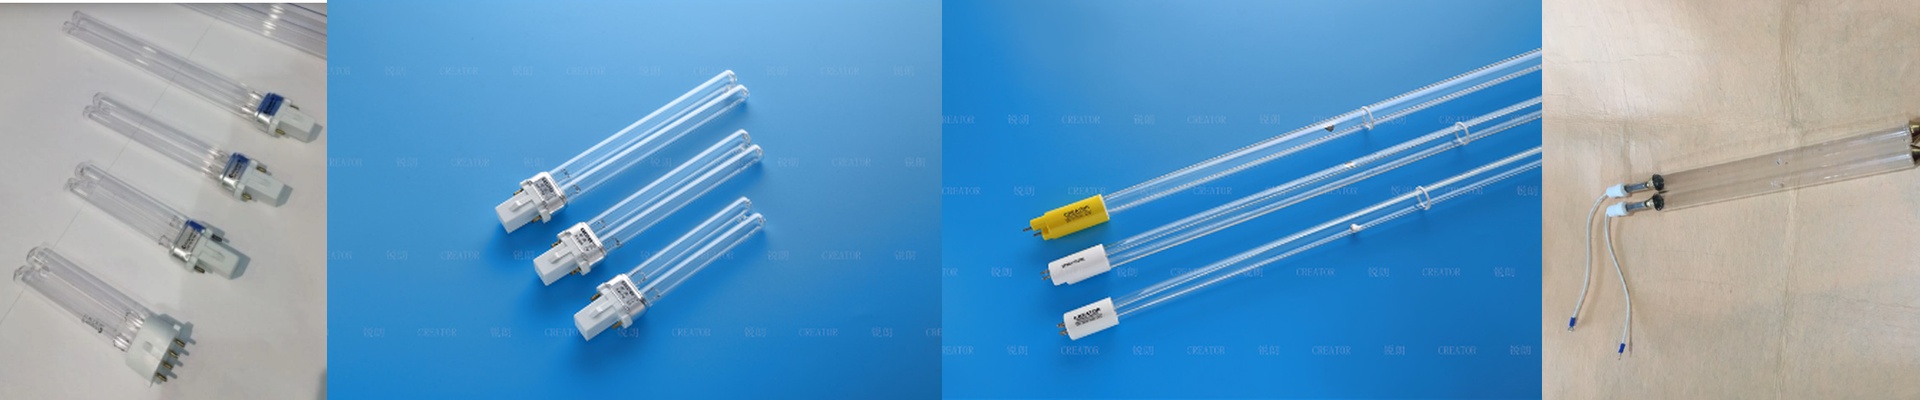
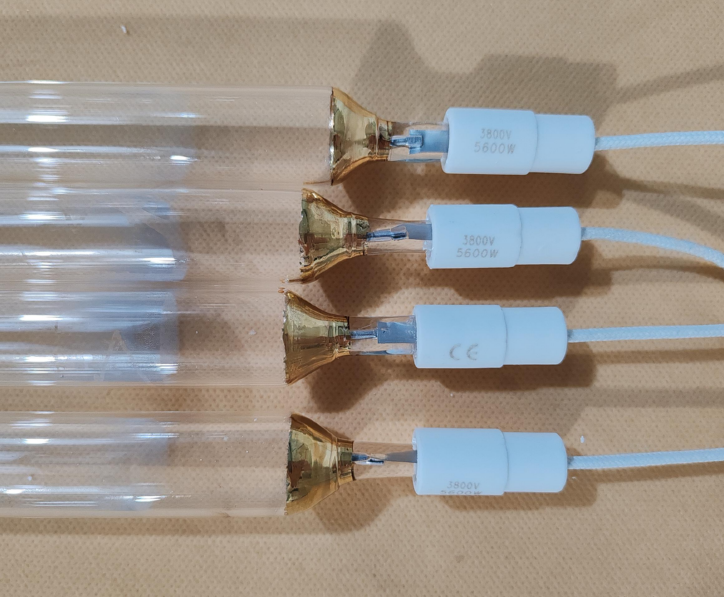
On the floor, mismatched UV power doesn’t hide. You see it immediately—ink that stays tacky, adhesion that falls short, or dark inks that yellow. Getting lamp output to line up with your press and your ink chemistry isn’t guesswork. It’s radiometry you can apply. What matters, technically UV curing comes down to energy density (mJ/cm²) at the substrate, set by peak irradiance and dwell. Chinese mercury vapor lamps are built around a stable arc length and reflector geometry, and they deliver defined spectral lines at 365nm, 385nm, and 405nm. Match the line to the photoinitiator: 365nm for deep through-cure on opaque and screen inks; 385nm and 405nm for thin-film flexo and offset, where you need surface cure and cure-on-dark in balance. A dichroic-coated reflector concentrates output and cuts IR, which keeps heat load from spiking. Spec out electrode design, quartz purity, and ozone-free operation, and you keep output stable across the lamp’s life curve. Why this works in practice The selection logic is straightforward, and you can run it in a minute. Confirm your press model, then match lamp power and spectral output to the ink and line speed. A 120W/cm lamp with the right spectrum gives you consistent cross-linking across the sheet. Over-specifying just wastes energy and hastens electrode wear. Under-specifying forces you to slow the line or live with incomplete cure. Set it up right, and setup time drops. Cure stays uniform edge-to-edge, and you use less energy. What you need to know Lamp length, arc gap, and reflector profile have to match the curing module footprint. If the reflector doesn’t fit, irradiance drops and you get hot spots. Plan for output loss as lamps age. Work maintenance around the rated hours, and keep a radiometer handy to verify energy density. Integrate interlocks and airflow. Quartz runs hot, and if cooling isn’t sufficient, lamp life gets cut short. And before you roll, confirm connector type and power interface so you don’t end up rewiring at the machine.