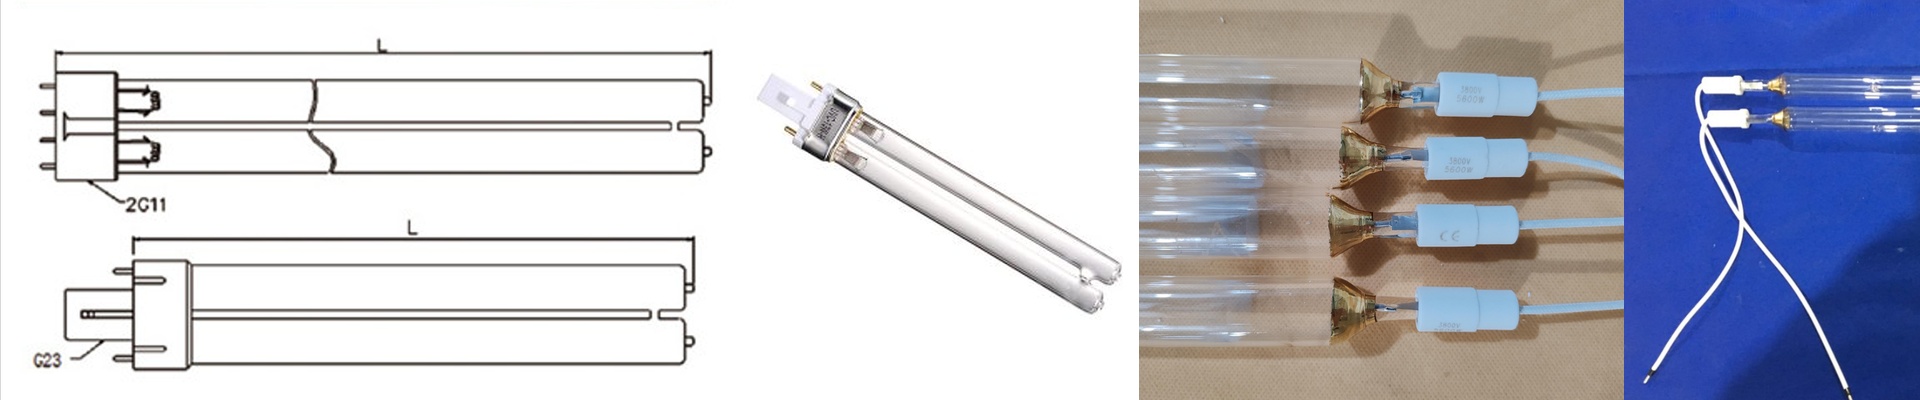
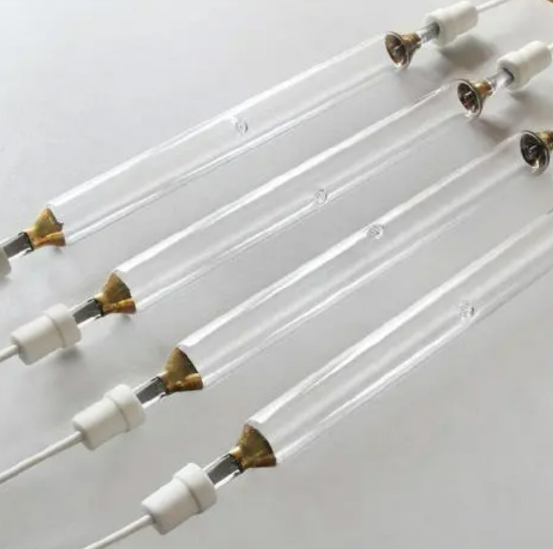
Getting Your UV Curing Right
Here is the deal with mercury UV curing: it all comes down to hitting the right note. You need the mercury vapor to excite just right to trigger that chemical reaction in your coatings. If your wavelength is off by even a tiny bit—we’re talking a few nanometers—everything goes sideways. Your cure rate tanks, and you’re left with a surface that feels tacky to the touch. Nobody wants that.
Why Most Tubes Die Early
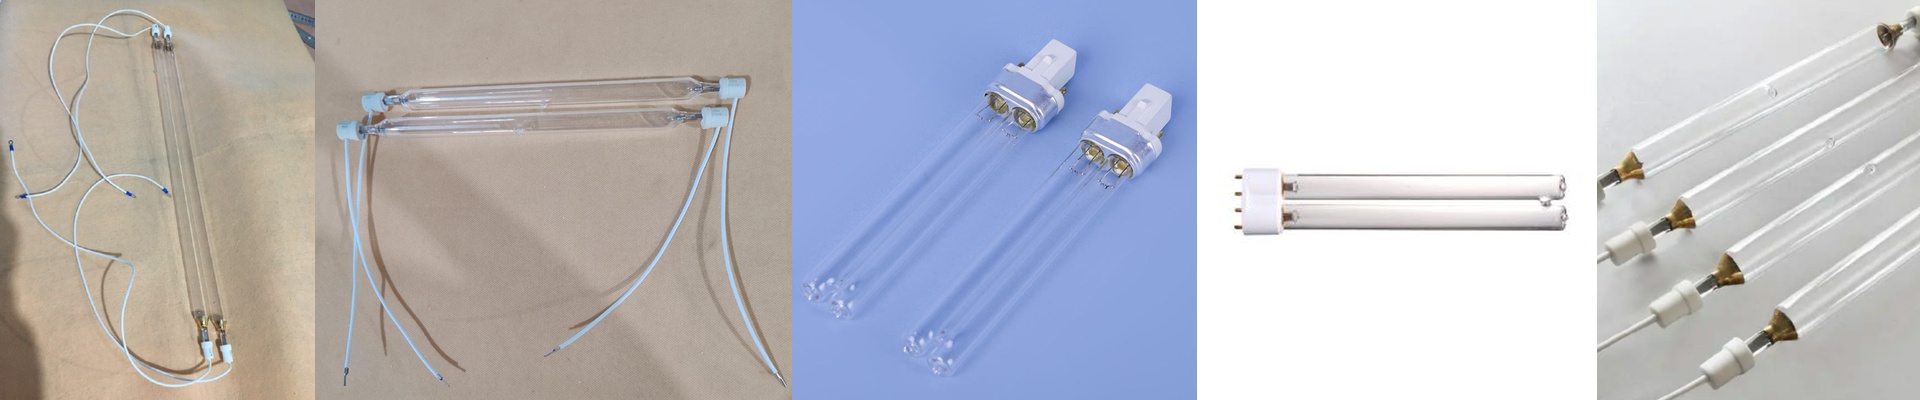
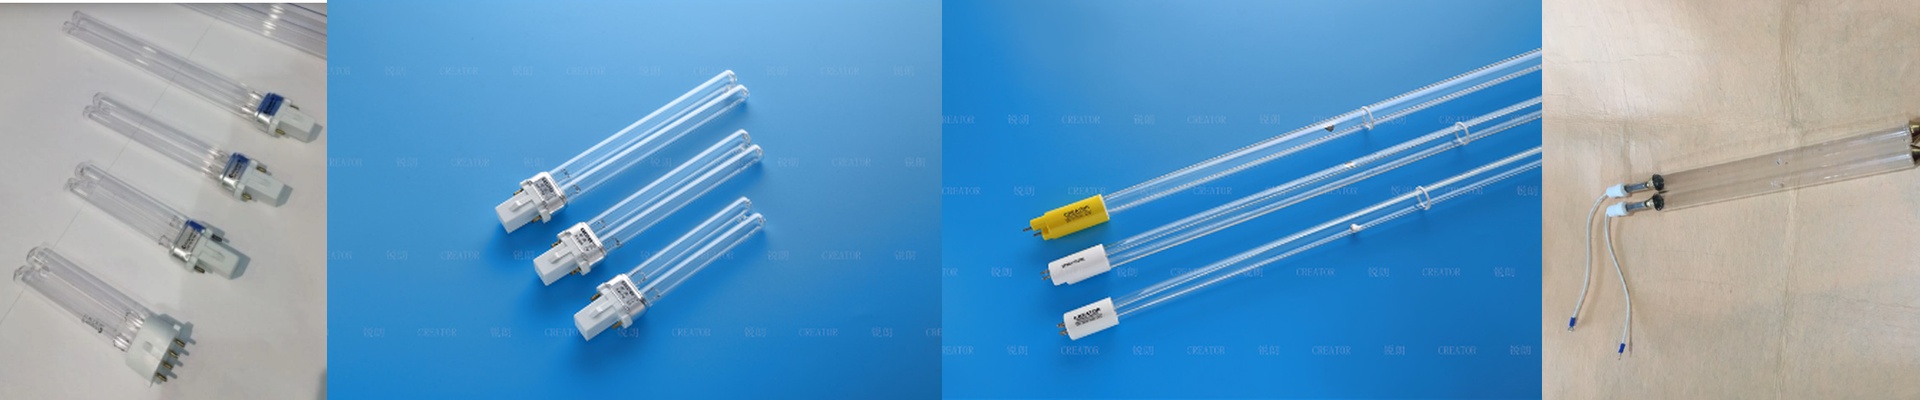
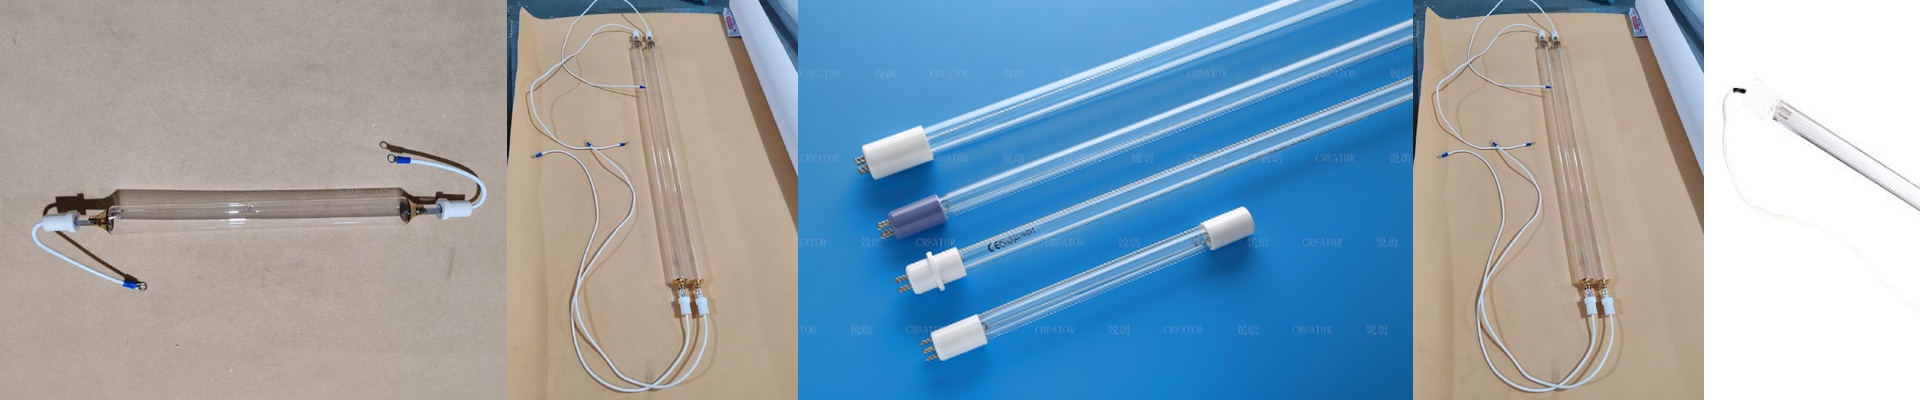
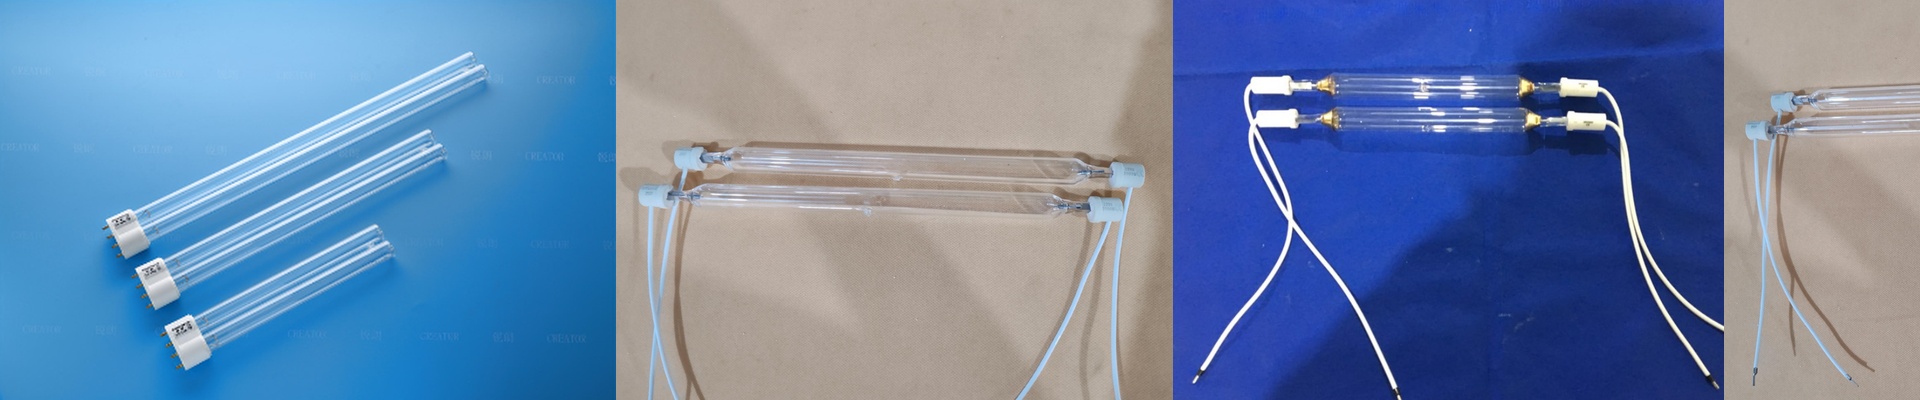
Most standard tubes burn out because the cathode just gives up. It degrades, the voltage gets shaky, and then… lights out. We decided to fix that. By using a specific electrode alloy and a better gas mix, we’ve pushed back the expiration date. These tubes stay strong for thousands of hours. The best part? You don’t have to spend your afternoon constantly tweaking the conveyor speed just because your lamps are getting old. The intensity stays steady. It just works.
The Heat Struggle
We use high-purity fused quartz for the outer shell. It’s great because it lets the UV light through without blocking it. But let’s be honest: these things gethot. When you’re pushing high energy for a fast cure, that quartz takes a beating. If your cooling fans or air jackets aren’t up to the task, the glass will stress and eventually crack. We’ve spent a lot of time dialing in the wall thickness so the tubes can handle that thermal shock without sacrificing the light output.
Plugging It All In
These are designed to be simple drop-in replacements for your existing lines. One quick tip: double-check your ballast. Make sure the strike voltage matches up. If it doesn’t, you’re either going to kill the tube’s lifespan or find out the hard way that it won’t even ignite. Once you’ve got that sorted, the guesswork disappears. You get a consistent, solid cure across the whole piece, every single time.