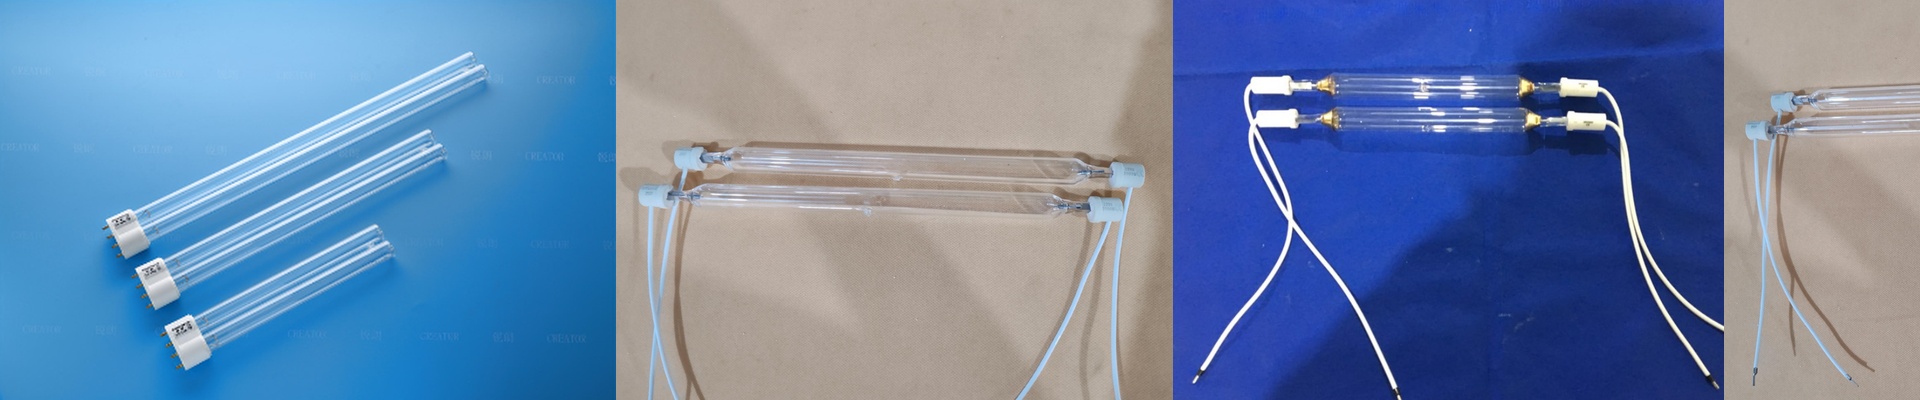
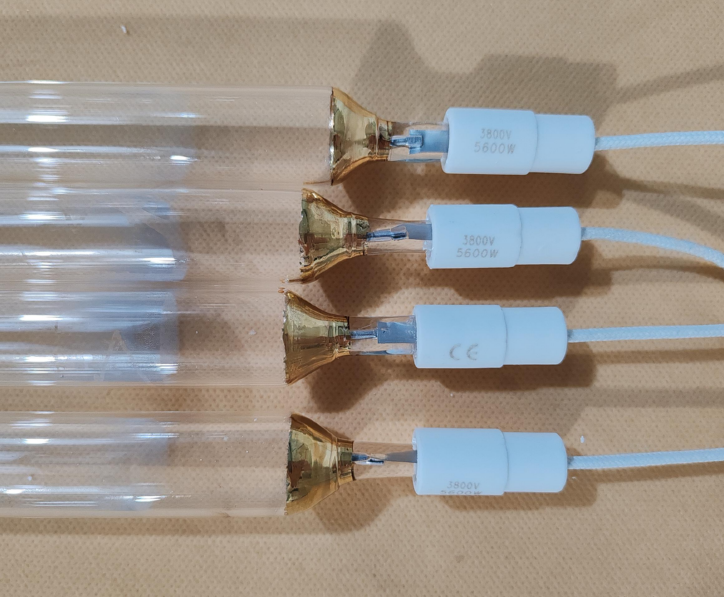
Getting Your UV Curing Right with Gallium Iodide
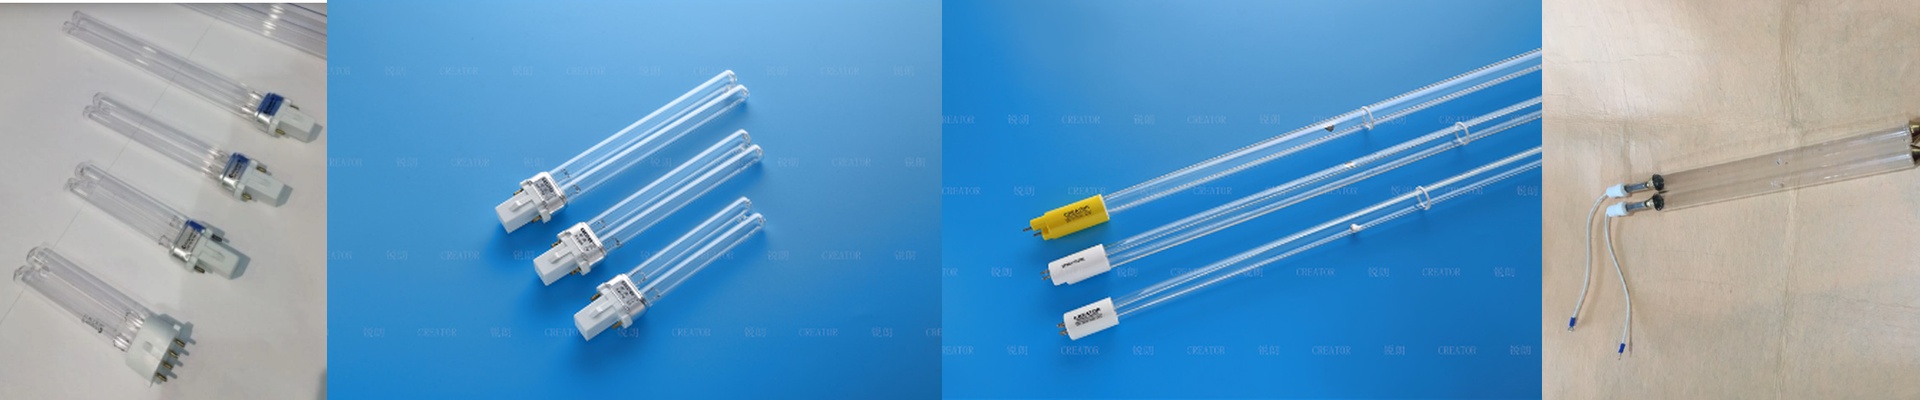
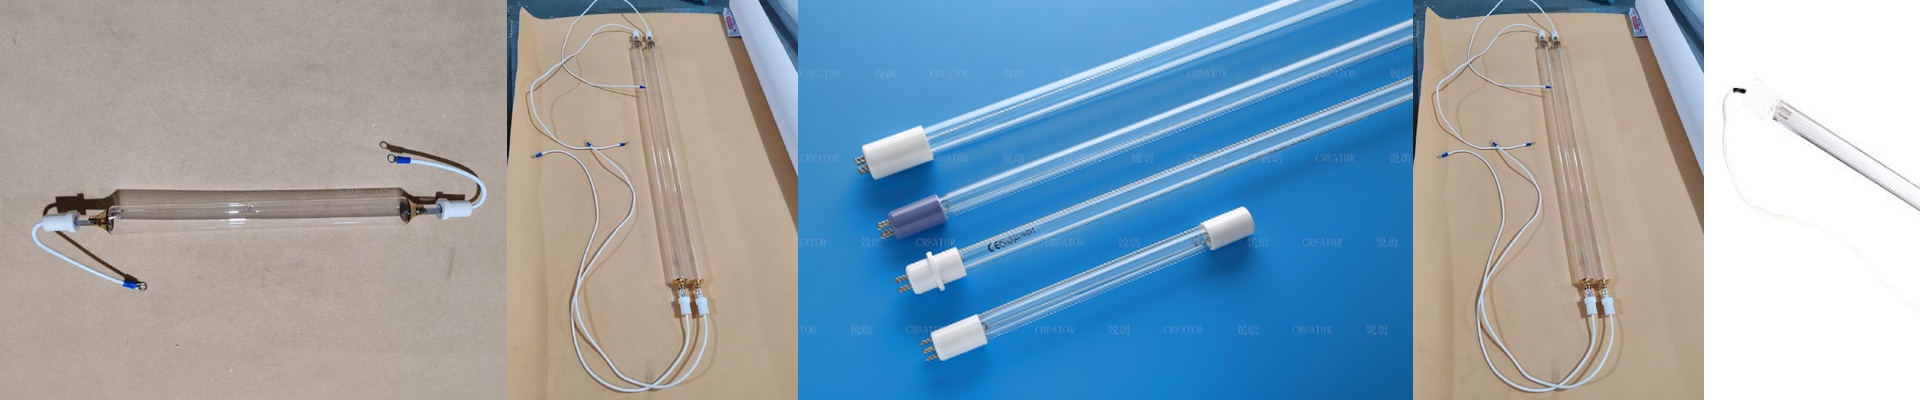
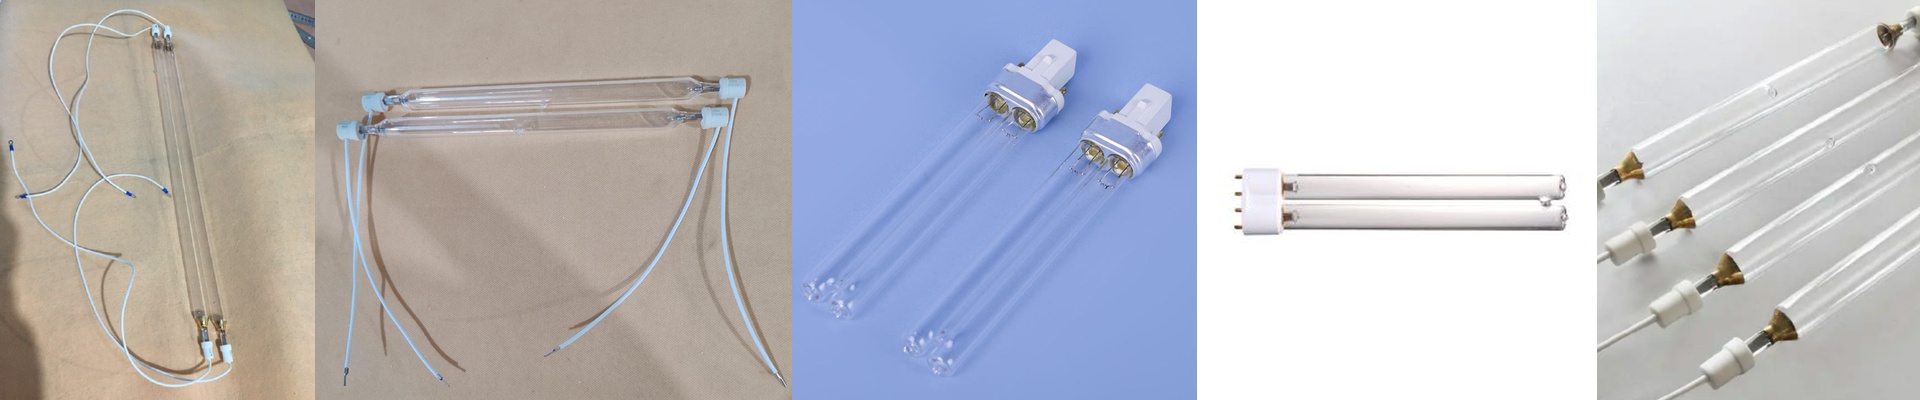
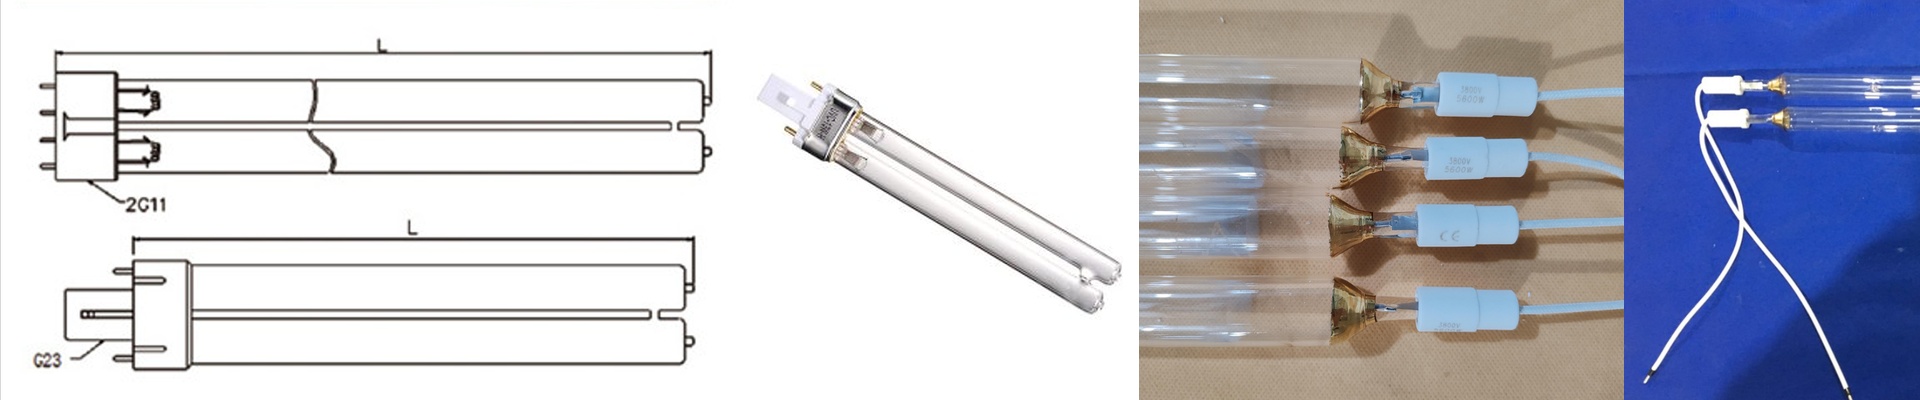
If you’re working with PCB dry film exposure or photoresist curing, you know that the light source is where everything is won or lost. That’s where our Gallium Iodide (GaI) lamps come in. Most people are used to standard mercury lamps, but we do things a bit differently. We’ve shifted the light output to hit that 300nm to 400nm sweet spot. Why? Because that’s exactly where modern photoinitiators actually react. It’s about hitting the target, not just throwing light at it. The secret is in the stability. Inside the tube, we use a gallium-doped halide fill. We spend a lot of time tweaking the wattage and voltage because there’s nothing worse than “dark spots” on your board. You need a steady, powerful punch of energy to get through thick photoresist layers. If your irradiance isn’t consistent, you’ll end up with under-exposed edges, and that’s a headache nobody needs. Then there’s the glass. We use high-purity synthetic quartz for the envelope. Cheap glass clouds up over time—a process called solarization—which kills your efficiency. We’ve spent 15 years obsessing over the seals and electrode geometry just to make sure the ends don’t burn out prematurely. It’s a lot of trial and error, but it means the lamps actually last. A quick heads-up: these things get hot. Really hot. Since they pump out so much energy, you’ve got to make sure your conveyor cooling is up to the task. If your airflow is weak, you’re risking warped substrates or bubbles in your photoresist. Keep them cool, and they’ll behave. Fitting them into your line We designed these to be simple drop-in replacements. We focused on the footprint and the pin alignment so you can just slide them in without having to rewire your entire rack. But remember, alignment is everything here. If the lamp is off by even 2mm, your exposure dose is off. To save you from the nightmare of constant recalibration, we test every single batch for spectral consistency. You swap the lamp, hit start, and get back to work.